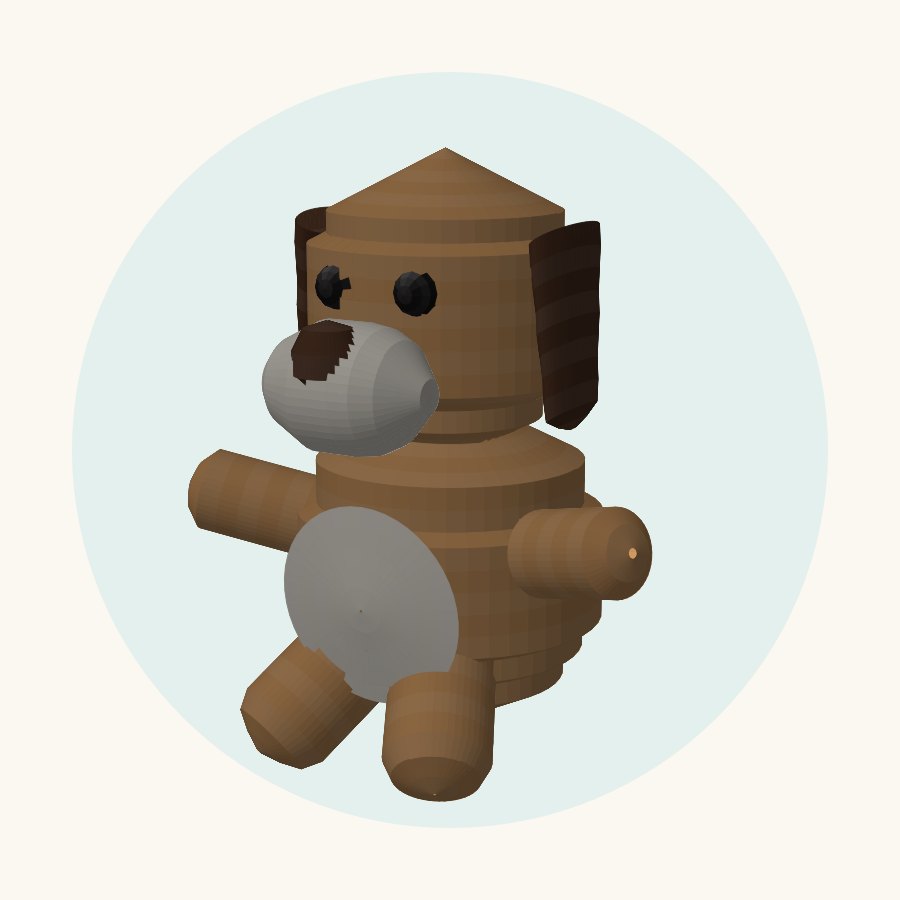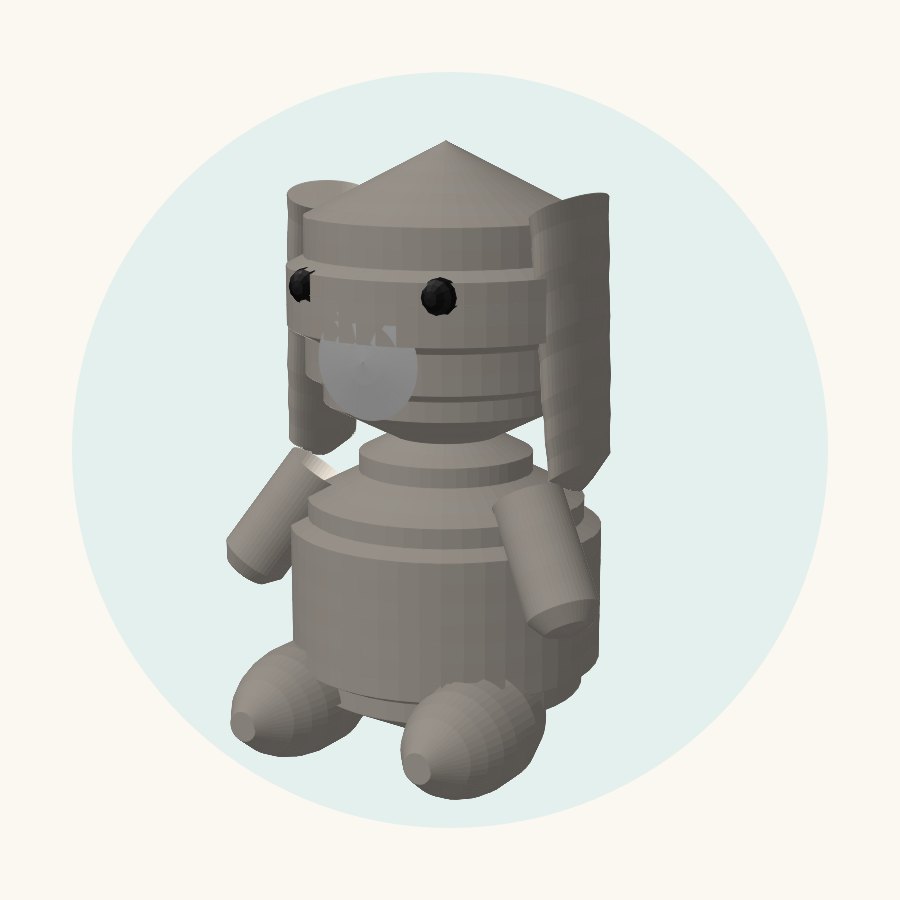
Free crochet pattern
Floppy Bunny Amigurumi Pattern
This free floppy bunny amigurumi pattern is worked in continuous rounds of single crochet, with increases and decreases for the shaping. In worsted yarn with a 3.5 mm hook it makes a toy about 5½ in tall, and it takes about 4-5½ hours at an everyday pace, sewing included. There are 10 pieces to crochet and sew together.
- Level
- Medium
- Size
- About 5½ in
- Time
- 4-5½ hours
- Pieces
- 10
- Yarn
- Worsted
- Hook
- 3.5 mm
The app counts your stitches round by round, reminds you when to add the eyes, and can resize the pattern for other yarns. Free, no account.
What you need
- Cream yarn, worsted weight: about 110 yd (100 m)
- White yarn, worsted weight: about 10 yd (10 m)
- 2 safety eyes, 8 mm
- Fiberfill stuffing
- Stitch marker
- Yarn needle
- 3.5 mm crochet hook
Yarn amounts are estimates with a little extra for tails and sewing.
Stitches and techniques
Magic ring · Single crochet · Increase · Invisible decrease · Stuffing · Safety eyes · Sewing pieces on · Embroidery
Abbreviations (US terms): MR = magic ring, sc = single crochet, inc = 2 sc in the same stitch, dec = crochet 2 stitches together (an invisible decrease looks neatest). The number in brackets is the stitch count at the end of the round.
The pattern
Work in continuous rounds. Move the stitch marker up each round.
Head · make 1 · Cream
| Round | Stitches | Count |
|---|---|---|
| R1 | 6 sc in MR | 6 |
| R2 | inc x6 | 12 |
| R3 | (sc, inc) x6 | 18 |
| R4 | sc, (inc, 2 sc) x5, inc, sc | 24 |
| R5 | (3 sc, inc) x6 | 30 |
| R6 | 2 sc, (inc, 4 sc) x5, inc, 2 sc | 36 |
| R7 | (5 sc, inc) x6 | 42 |
| R8 | 3 sc, (inc, 6 sc) x5, inc, 3 sc | 48 |
| R9-10 | sc around | 48 |
| R11 | (7 sc, inc) x6 | 54 |
| R12-14 | sc around | 54 |
| R15 | (7 sc, dec) x6 | 48 |
| R16-17 | sc around | 48 |
| R18 | 3 sc, (dec, 6 sc) x5, dec, 3 sc | 42 |
| R19 | sc around | 42 |
| R20 | 2 sc, (dec, 5 sc) x5, dec, 3 sc | 36 |
| R21 | (4 sc, dec) x6 | 30 |
| R22 | sc, (dec, 3 sc) x5, dec, 2 sc | 24 |
| Stuff firmly. | ||
| R23 | (2 sc, dec) x6 | 18 |
| R24 | (sc, dec) x6 | 12 |
| R25 | dec x6 | 6 |
| Fasten off, then gather the last 6 stitches closed. | ||
Eyes: Put the safety eyes in now, between R12 and R13, about 8 stitches apart. Once the piece is closed you can't add them.
Sew firmly to the top of the body, overlapping about 1 cm.
Body · make 1 · Cream
| Round | Stitches | Count |
|---|---|---|
| R1 | 6 sc in MR | 6 |
| R2 | inc x6 | 12 |
| R3 | (sc, inc) x6 | 18 |
| R4 | sc, (inc, 2 sc) x5, inc, sc | 24 |
| R5 | (3 sc, inc) x6 | 30 |
| R6 | 2 sc, (inc, 4 sc) x5, inc, 2 sc | 36 |
| R7 | (5 sc, inc) x6 | 42 |
| R8 | 3 sc, (inc, 6 sc) x5, inc, 3 sc | 48 |
| R9 | sc around | 48 |
| R10 | 3 sc, (inc, 7 sc) x5, inc, 4 sc | 54 |
| R11-17 | sc around | 54 |
| R18 | 3 sc, (dec, 7 sc) x5, dec, 4 sc | 48 |
| R19 | sc around | 48 |
| R20 | 3 sc, (dec, 6 sc) x5, dec, 3 sc | 42 |
| R21 | (5 sc, dec) x6 | 36 |
| R22 | 2 sc, (dec, 4 sc) x5, dec, 2 sc | 30 |
| R23 | sc around | 30 |
| R24 | sc, (dec, 3 sc) x5, dec, 2 sc | 24 |
| Stuff firmly. | ||
| R25 | (2 sc, dec) x6 | 18 |
| R26 | (sc, dec) x6 | 12 |
| R27 | dec x6 | 6 |
| Fasten off, then gather the last 6 stitches closed. | ||
Stuff firmly and sew the head on top.
Floppy Ear · make 2 · Cream
| Round | Stitches | Count |
|---|---|---|
| R1 | 7 sc in MR | 7 |
| R2 | inc x5, (sc, inc) x1 | 13 |
| R3 | (sc, inc) x5, (2 sc, inc) x1 | 19 |
| R4 | sc around | 19 |
| R5 | 18 sc, inc | 20 |
| R6 | sc around | 20 |
| R7 | 19 sc, inc | 21 |
| R8-9 | sc around | 21 |
| R10 | 20 sc, inc | 22 |
| R11-12 | sc around | 22 |
| R13 | 21 sc, inc | 23 |
| R14-15 | sc around | 23 |
| R16 | 22 sc, inc | 24 |
| Fasten off. Leave a long tail for sewing. | ||
Do not stuff. Flatten the piece before sewing.
Do not stuff. Sew the open end to the upper sides of the head so the ears hang down beside the face.
Arm · make 2 · Cream
| Round | Stitches | Count |
|---|---|---|
| R1 | 8 sc in MR | 8 |
| R2 | (sc, inc) x4 | 12 |
| R3-8 | sc around | 12 |
| Fasten off. Leave a long tail for sewing. | ||
Stuff lightly and sew the open ends to the sides of the body below the head.
Foot · make 2 · Cream
| Round | Stitches | Count |
|---|---|---|
| R1 | 7 sc in MR | 7 |
| R2 | inc x3, (sc, inc) x2 | 12 |
| R3 | (3 sc, inc) x3 | 15 |
| R4 | (6 sc, inc) x1, (7 sc, inc) x1 | 17 |
| R5 | (7 sc, inc) x1, (8 sc, inc) x1 | 19 |
| R6-7 | sc around | 19 |
| R8 | 17 sc, dec | 18 |
| R9 | (7 sc, dec) x2 | 16 |
| R10 | (3 sc, dec) x2, (4 sc, dec) x1 | 13 |
| Stuff firmly. | ||
| R11 | (sc, dec) x3, (2 sc, dec) x1 | 9 |
| R12 | dec x3, (sc, dec) x1 | 5 |
| Fasten off, then gather the last 5 stitches closed. | ||
Stuff and sew to the bottom front of the body so the feet point forward.
Tail · make 1 · White
| Round | Stitches | Count |
|---|---|---|
| R1 | 8 sc in MR | 8 |
| R2 | inc x4, (sc, inc) x2 | 14 |
| R3 | (sc, inc) x1, (2 sc, inc) x4 | 19 |
| R4 | (8 sc, inc) x1, (9 sc, inc) x1 | 21 |
| R5 | 20 sc, inc | 22 |
| R6 | 20 sc, dec | 21 |
| R7 | (5 sc, dec) x3 | 18 |
| R8 | (2 sc, dec) x2, (3 sc, dec) x2 | 14 |
| Stuff firmly. | ||
| R9 | dec x4, (sc, dec) x2 | 8 |
| R10 | dec x4 | 4 |
| Fasten off, then gather the last 4 stitches closed. | ||
Sew to the back of the body near the bottom.
Muzzle · make 1 · White
| Round | Stitches | Count |
|---|---|---|
| R1 | 7 sc in MR | 7 |
| R2 | inc x5, (sc, inc) x1 | 13 |
| R3 | (sc, inc) x5, (2 sc, inc) x1 | 19 |
| Fasten off. Leave a long tail for sewing. | ||
Sew onto the middle of the face below the eyes.
Putting it together
- Stuff the head and body firmly, and the arms and feet lightly. Leave the ears unstuffed.
- Sew the head to the top of the body.
- Sew the ears flat to the upper sides of the head so they hang down.
- Sew on the muzzle disc, then embroider a small pink nose and a short Y-shaped mouth on it.
- Sew on the arms, feet and tail.
- Fit the safety eyes before closing the head.
Make it round by round
Open the floppy bunny in the free Crochet Shelf app to count stitches as you go, see the toy in 3D, and rate the pattern when you finish.